Wednesday, April 30, 2014

Proud Lake Trout Fishing Opener 2014


Every year on the last Saturday of April hundreds of outdoorsmen and women flock to many streams lakes and ponds to enjoy the opening day of "catch and keep" trout season.  For me this is usually my first major fishing outing of the year to fish lower Proud Lake.  In fact you've seen pictures of the results of last year's trout opener in my review of the Quantum Optix 30 spinning reel.

However for me the last two years I've been doing things a bit differently but before I tell you my change I'll tell you what the original yearly tradition was.  For a few years prior to this one my trout opener consisted of me lining up along the base of the dam with about 50 to 100 other people waiting with baited hook and rod in hand on the midnight hour to pitch my first line in the water to catch my limit in trout.  Can you say combat fishing at it's best.  I would literally stand shoulder to shoulder with people pitching as close to the dam as possible hoping to hook a trout and when I did hoping not to tangle up in someone else's line or legs to land my fish.  While it's very affective it was also very annoying so last year my fishing partner and I decided we'd no longer deal with the troutathon and float tube down the following morning.

For the most part this was probably the best idea we had for trout fishing last year.  Cause the following morning we pretty much had our choice of places to fish.  We saw very little other traffic on the river
outside of a few kayakers and waders where ever there was a place they could gain access.  However this year I think someone passed out a memo on the benefits of kayaking in because we saw at least 12 to 15 kayakers, several aluminum boats and quite a few canoes along the river fishing.  A big shock but a good shock in my opinion because I love to see other sportsmen and women taking advantage of the opportunity to fish and enjoy the outdoors.

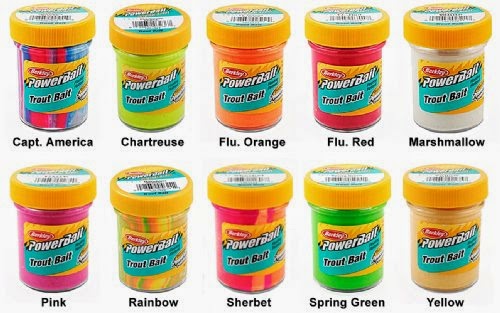
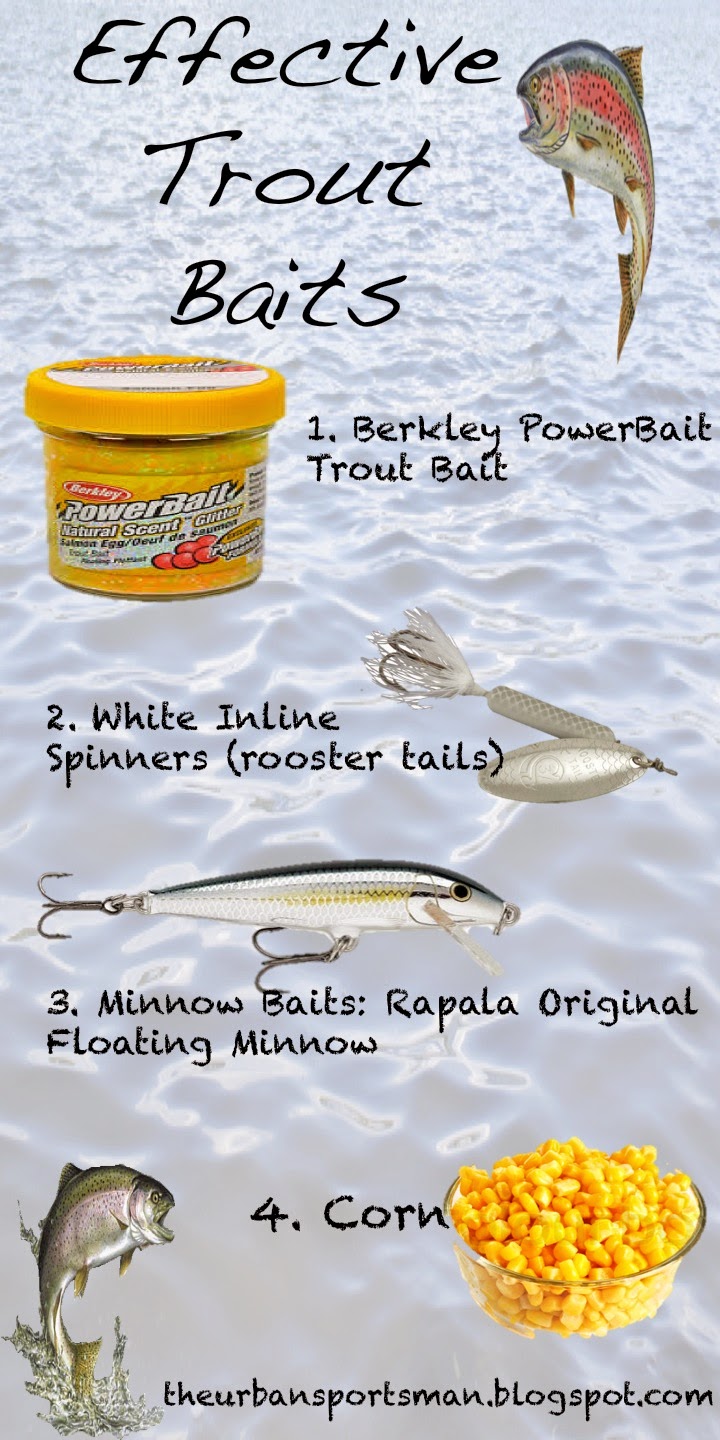
Every year prior to this one I've always stuck to the same bait for trout and that is berkley powerbait trout bait.  Usually, because of fishing at night, the best colors for me have been the white and pink.  However this year pink drew no bites whatsoever but the yellow and white did very well.  In addition to powerbait big fish catchers this year were corn (an old standby for many fishermen), minnow baits, and white or silver inline spinners or rooster tails.  In fact the three largest trout I saw caught this year were taken on white rooster tails and a minnow bait like the original rapala floating minnow.

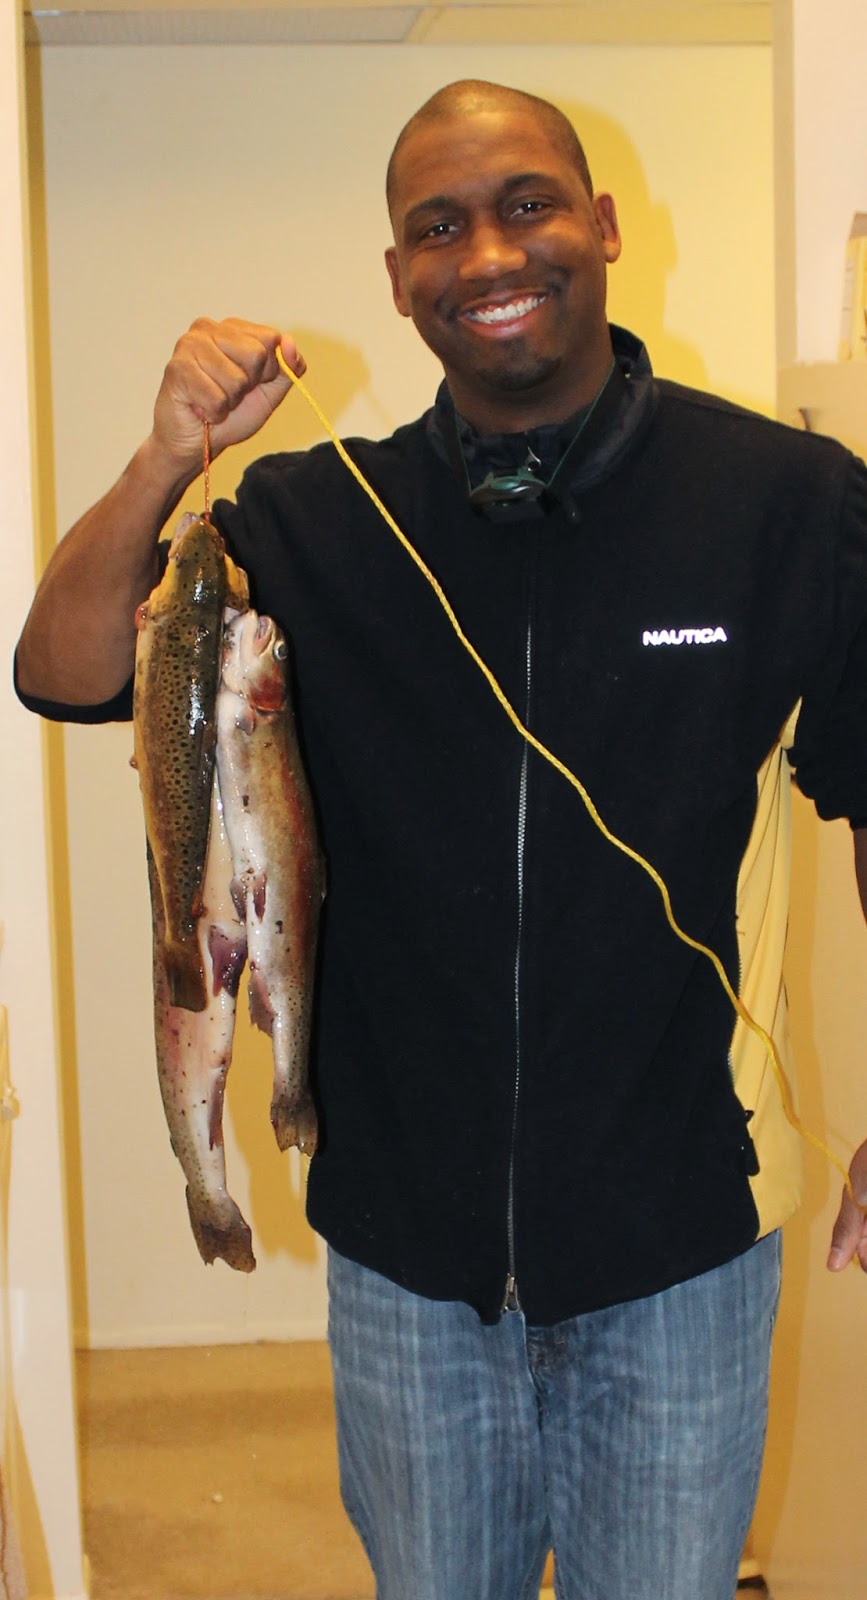
Overall I did pretty well this year catching my limit of trout (both browns and rainbows) on the opening day.  However unfortunately I wasn't able to get back out and catch some more that week but I plan on making a trip in the future up north to chase wild browns and rainbows when they start feeding on mice.

Tuesday, April 29, 2014

Product Review: Berkley PowerBait "Trout Bait"


Company Description: Berkley PowerBait makes novice anglers good and good anglers great!  Berkley scientists have spent over 25 years perfecting an irresistible scent and flavor - the exclusive PowerBait formula.  Fish love PowerBait so much they hold on 18 times longer, giving you the time and confidence to feel more bites, set more hooks and catch more fish!   

Features and Benefits:  The Berkley trout bait comes in many color variations.  Some of which are
already pre-molded into balls and others that need to be rolled into a bait ball.  Overall it's very easy to

carry and store due to it's glass container.  As well it's very easy to use by just rolling it into a small ball around hook and casting it where ever you think trout lay in wait.

Review:  I really like this bait, in fact I use it every year when I fish opening day of trout season and proud lake.  What I've noticed is that it's  a great bait that floats so you'll have to adjust how you rig it

according to where the fish are sitting in the water column.  As for Berkley's claim that it's the best trout bait on the market I believe it is good but not that good.  As with any bait it depends on what the fish are feeding on at the moment and how much pressure the fish have been receiving from fishermen using similar baits.
How I Used:  I've been using these baits over the last few years and have used multiple colors including white, pink, a mix of both and yellow.  From what I've noticed the white and yellow colors work the
best as they are closer to the color of the pellets farmed and released trout eat in the hatchery.  As far as wild trout all three colors worked well but egg colors work best particularly around the time of the salmon run.
I personally rig this bait two ways.  One way is with an slip sinker rig using an egg sinker, barrel swivel and #8 egg hook.  Adjusting the length of the leader so the hook will float into the fishes strike zone depending on where the fish are in the water column.  (Image courtesy of fishingnoob)
The other way I use this bait for when I'm fishing in deeper stocked ponds or lakes.  I use a kentucky rig where you tie a small bell sinker to the bottom of the main line with a snelled hook attached up the main line according to where the fish are suspended in the water column.  

Pros:  This bait really catches trout especially stocked trout.  It's easy to use and store also it floats which makes it easy to present to waiting trout. 

Cons: It can be messy smelly on your clothes and hands.  But guess what?  If you're fishing there is a fair chance you're not gonna be clean for long anyway. 


Wednesday, April 23, 2014

My Easter Fishing Ice Breaker


So this past Easter Sunday I decided, since I had the day off, to get out and jump start my spring bass fishing.  So as of the Thursday prior to Easter Sunday I was checking the weather to see if it would be nice enough to get out on the water and chase a few fish.  To my pleasant surprise the weather man said the temps would be in the high sixties this Easter and since I stay in Michigan I decided this is a huge blessing as it's not uncommon to get a spring snow fall or bout of very cold rain. 
   
    So with the excitement of being able to sneak out finally I set my alarm for a late 9am start, late for fishing but why not have a lazy day off.  My late start didn't exactly happen as a I'd preferred as my body is wired for not sleeping past 7am and apparently my cat Phil decided 7am was a perfect time to break out the early morning easter love, as seen in the picture above.  Whoever said cats aren't very affectionate haven't met "Mr. Lover Man" Phil.  So a few Sunday morning cartoons and a lot of kitty love later I was off to my usual haunt of Newburgh Lake to chase whatever fish I could.
   To my surprise when I arrived at the lake at about 10:30 there weren't that many people walking the shore or out on kayaks fishing, just a few of us chasing early season largemouth bass.  A couple of guys using large spinnerbaits, one gentleman throwing a rattle trap, another young man using a jerk bait quite successfully and his buddy who was switching up quite a bit from bait to bait.
    As for myself I decided since the water was still cold I'd start out with black and yellow beetle spin which was very successful for me to start.  In fact I caught about 5 smaller bass, all between 12 and 15 inches in length.  With the beetle spin I found that the bass were actually striking it pretty aggressively despite the cold water, but only when the beetle spin was being slowly and deeply retrieved.  So on every cast when the bait hit the water I'd count to seven to allow the bait to drop down just deep enough to be retrieved above the recently emerging grass then slow rolling it back resulting in frequent strikes.                                                                         After a while and a quick circuit of the point I was fishing I decided to switch back to an old standby of mine, an inline spinner I tie that has a brown wooly bugger as the tail end which I can only describe as a wooly spinner.  (I'll post a picture and how to blog later)  This made the difference for me this day, because even though this bait isn't much larger than the beetle spin it could be retrieved at a slower rate as well it's undulating wooly bugger tail and gold spinner really gave the bait a more lifelike profile in the cold clear water this day.  So while I caught 5 smaller bass on the beetle spin my little wooly spinner drew in another 7 bass 3 of which were over 17 inches. 
   
With the wooly spinner catching the fish that it did, the hackle and marabou of the bait started to get a bit funky looking so I switched out for a 6 inch black Zoom Super Fluke with green glitter around the head.  Unfortunately this bait didn't do as well as the other two baits but it did draw in 3 other fish which was cool cause by this point I was making my way back to the car anyway.  However the great thing about the breaking out the fluke is that there is a flat that is normally filled with lily pads during the summer that was pretty barren at this time except for a small patch of lilies about 50 yards out from the shore that I could reach with either of the other two baits I'd fished with earlier.  So I decided to give the heavier fluke a cast to see if I could get out just beyond that small stand of lily pads.  Well much to my happiness one cast dropped my fluke just on the other side of the middle of the pads.  With a quick pop of the rod tip the fluke jerked and hung up on a pad and with two more light jerks to simulate a stuck bait fish all I was was  sudden splash of water and the lily pads sway.  I set the hook and a few minutes of fighting later I landed one of my bigger fish of the day on the Zoom Super Fluke from the one location that everyone who I had talked to earlier handed had so much as a nibble.  (Sorry about the blurry image as my phone's camera lens has a a few scratches on it.)  Overall I had a great Easter Sunday thanks to an over affectionate kitty and quite a few bass willing to chase my baits.  :)


Thanks for reading,
Kwan & Phil

Tuesday, February 11, 2014

Matching the Hatch: Elk Hair Caddis


For years fly fishermen and women have had one motto or truism when it comes to picking which fly to use next and that is "Match The Hatch".  In other words match your fly to what the trout are eating.  I've been thinking of this fact and wondering what I can do to make this statement come to life.  So I decided to make a Match the Hatch series of blog posts, possibly once a month, highlighting different baits, not just flies, and matching them to the bait species they imitate.  This way we can learn both how to fish said baits matching them to their real counter parts.

So with that in mind here is the first "Match the Hatch" post.  I first heard about caddis flies in particular the winter caddis when I lived in Connecticut and decided to learn how to fly fish.  The first question I asked that winter after learning how to casts a fly rod was which baits should I learn to tie first.  Well, the person working at Orvis, also a fly fishing guide, said I should start with the elk hair caddis fly but make sure I tied it in the winter caddis colors as that is what they were currently catching trout on the Farmington River with.  Which to me made no sense whatsoever because it was very much into the winter and from what I understood no bugs would be hatching or flying about in the winter.  Well I was wrong, caddis flies do hatch in colder months.  So a quick grab of the materials and I was off tying some not very artistic looking elk hairs with the hopes of catching a fish or two that winter. 

Needless to say I didn't get lucky enough to catch a trout on those flies that winter.  However what I did learn was that just about every fish in streams, ponds and lakes will gorge themselves on caddis flies during an evening hatch.  As that following spring I got lucky and experienced a hatch while casting wooly buggers for trout in a local lake.  So with a quick switch of baits I was landing way too many bluegill a couple of small bass and yes my first trout on an elk hair caddis, only on the tan color not the winter caddis pattern.  From that point forward I've always kept them in my fly box whenever I'm out fishing, which this year turned out to be another forgotten treasure as I learned pretty quickly that here in Michigan when the flying ants begin to hatch the elk hair makes a great imitation for them as well.
The materials needed to tie the elk hair caddis are:
  • Sizes #12 - #18  dry fly hooks  (Mustad R50-94840)
  • Elk Hair
  • Saddle Hackle in brown, grizzly or black
  • 6/0 Tying Thread
  • Super fine copper wire for ribbing
  • Dubbing your choice of color

The overall pattern is very easy to tie so it's perfect for someone learning, as we all are.  Below are  few videos with great examples and variations on this essential fly.


Tuesday, February 4, 2014

How to Use Straws For Waterproof Camping Storage


If you've spent any time in the outdoors where you were required to pack in to a given location then you know that limiting weight, saving space and water proofing are a must. So how do you get everything you "need" into your campsite whether you're hiking or canoeing in.  This is especially true when it comes to luxuries like cooking spices and necessities like fire starting agents such as matches.
Well, one of the simple tools I use to get small items into camp safe compact and dry are basic straws.  I personally store my cooking spices, matches, Vaseline soaked cotton balls and neosporin inside sealed straws when backpacking, kayaking or canoeing into my campsites.  Note: Make sure you label your straws with a needle nose sharpie so you don't mix up things like toothpaste and neosporin.  I don't think you'll like the taste...  Overall this is a very simple tool to make so below I'll show the simple steps of how to make straws into simple storage devises.

1. Assemble the tools needed to make your storage straws. A simple lighter, needle nose pliers (or small pliers of any kind) and a pair of scissors will be needed. 
2.  Cut the straws to whatever length you'd like.  I personally cut them pretty short in order to store spices in single serve sizes for camp meals. 

3. Pinch one end of the cut straw with your small pliers and burn the exposed tag end briefly in order to get the end to seal. (You may have to pinch the tag end with your fingers to seal it completely)

4. After having one side sealed place whatever you want to keep dry inside of your mini-container. Ie. toothpaste, spices, matches or anything else you can think of that you want to keep dry.

5. Repeat step 3 sealing the opposite end of the straw thus protecting its contents from the elements.

Here is a video of the actual process just to make learning this a bit easier:

Monday, January 20, 2014

How-to Properly Fit your Kayak Fishing PFD

I saw this video on youtube and thought it was a great, simple explanation of how your Kayak Fishing PFD should fit.


Saturday, January 18, 2014

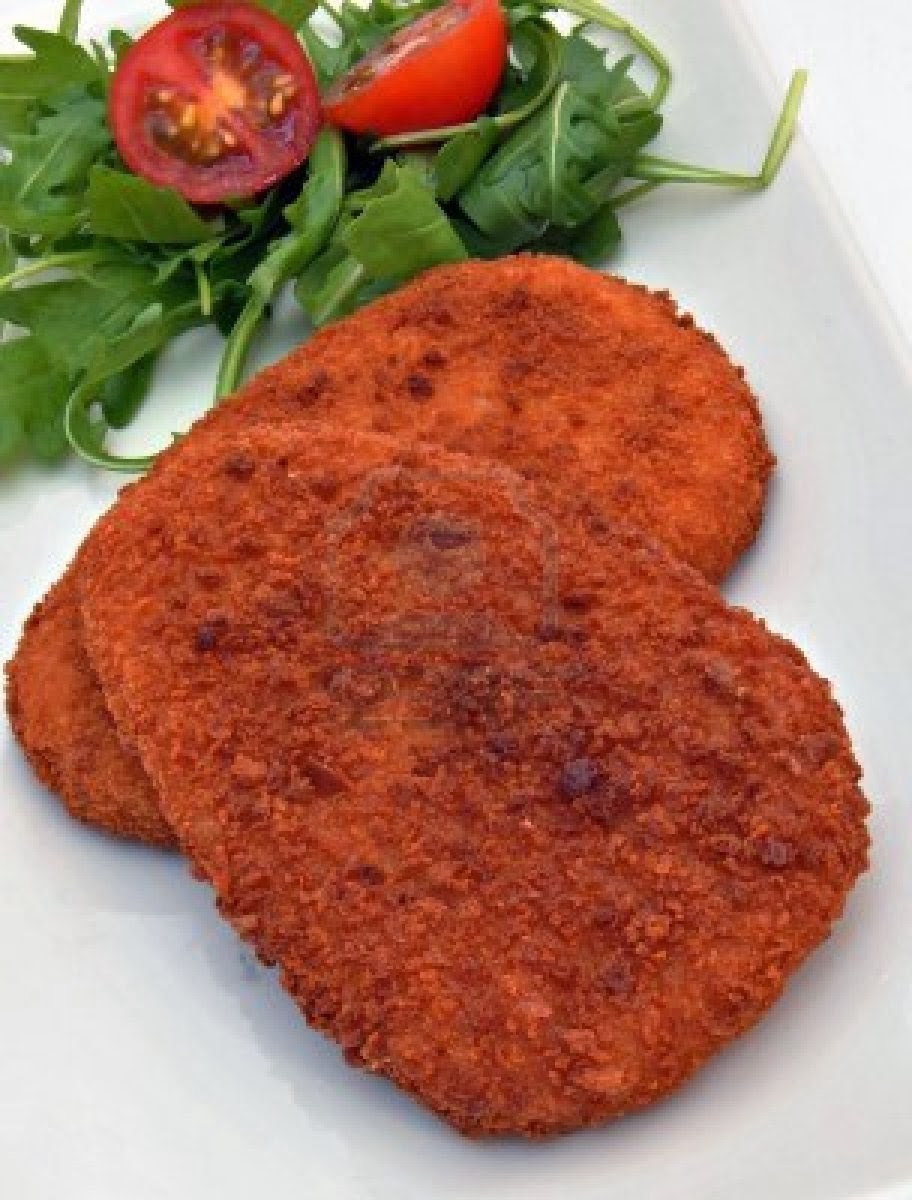
Breaded Venison Straps


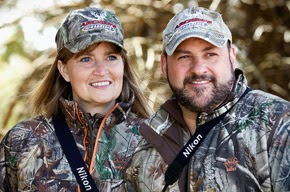
I was on Facebook today when I noticed that Ralph and Vicki Cianciarulo from Archer’s Choice posted this recipe for breaded Moose Straps.
Breaded Moose Straps!
Ingredients:
Flour
Italian Breadcrumbs
Garlic Powder
Salt
Pepper
Eggs
Milk

Directions:
Mix flour, Italian breadcrumbs, garlic powder, salt & pepper in a bowl.  Mix eggs and milk in another bowl.  Slice straps real thin, soak in egg & milk bowl then dip into flour & breadcrumb bowl.  Cook in frying pan with olive oil & rough sliced onions.

LinkWithin

Related Posts Plugin for WordPress, Blogger...